Condensation is one of the most common problems campervan owners deal with, particularly through the colder and wetter months.
The good news is that some condensation is normal and, in most cases, it can be reduced significantly. The key is understanding that there usually isn’t one single fix. Good campervan ventilation, insulation, heating and moisture management all need to work together.
Why Do Campervans Get Condensation?
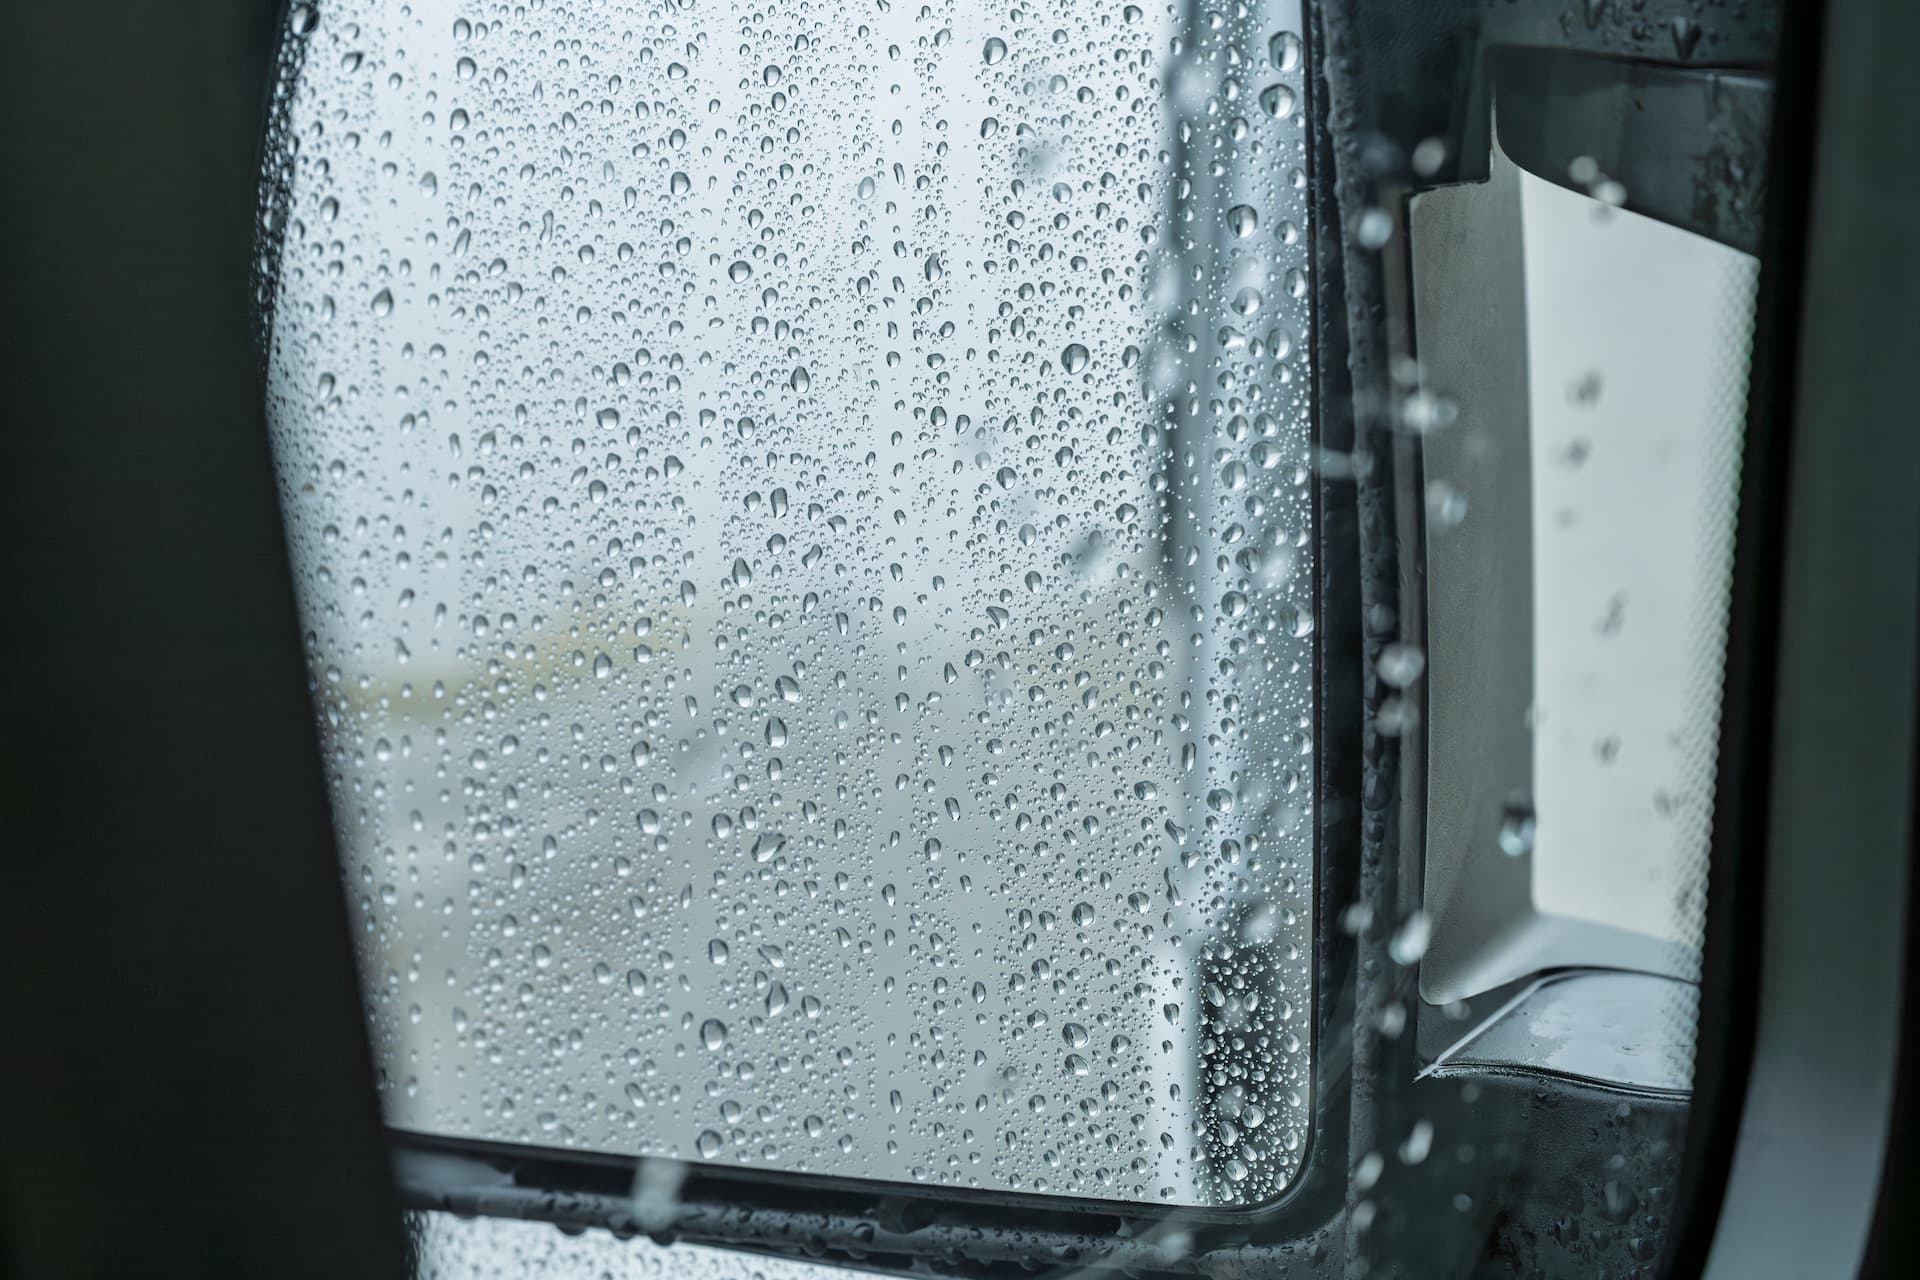
Condensation forms when warm, moisture-filled air comes into contact with a surface cold enough for that moisture to turn back into water.
A campervan creates plenty of moisture during normal use. Breathing overnight, boiling a kettle, cooking, hanging up wet coats or just coming inside after a rainy walk all add water vapour to the air – and as we know in the UK, those rainy walks are pretty common.
At the same time, a van contains plenty of surfaces that can become cold quickly. Windows are the obvious example, but exposed metalwork, doors, roofs and poorly insulated sections of the body can behave in the same way.
That’s why you might wake up to a wet windscreen even though there is no leak anywhere in the van.
How Do You Stop Condensation In A Campervan?
The most effective approach is to tackle the problem from several directions:
- Let moist air escape
- Reduce unnecessary moisture inside the van
- Keep the interior reasonably warm
- Reduce very cold internal surfaces through good insulation
- Maintain airflow behind furniture, mattresses and enclosed spaces
Trying to solve condensation with insulation alone, or simply turning the heating up, usually misses an important part of the problem.
Our Number One Tip: Keep Your Campervan Ventilated
It can feel counterintuitive to open a vent or window when you’re trying to keep a camper warm, but completely sealing the van overnight often makes condensation worse.
Two people sleeping in a relatively small space can add a surprising amount of moisture to the air just through breathing.
You don’t necessarily need windows wide open. A controlled amount of ventilation allows humid internal air to escape and be replaced with drier outside air.
Roof ventilation can be particularly useful because warm, moisture-filled air naturally rises. Combining an upper vent with an opening campervan window or another lower source of fresh air can encourage airflow through the vehicle.
Ventilation becomes even more important when cooking. Boiling water and preparing food can release moisture very quickly, so use any available extraction and open a vent or window rather than allowing that moisture to remain trapped inside.
Use Heating & Ventilation Together
Heating and ventilation are not opposites.
Heating helps keep the camper comfortable and raises the temperature of internal surfaces, making them less likely to reach the point where condensation forms. Ventilation removes the humid air that would otherwise remain inside.
Using both together generally works better than heating a completely sealed van.
A properly installed heater can therefore make year-round use much more comfortable, but campervan heating alone will not remove the moisture being produced inside the vehicle.

Good Insulation Vs Ventilation
Insulation plays an important part in controlling condensation because it reduces the number of cold surfaces exposed to the warmer campervan interior.
The metal shell of a van transfers temperature very effectively. In winter, exposed or poorly insulated metal can become significantly colder than the air inside, creating an ideal surface for condensation.
A good insulation system should therefore cover the van consistently rather than concentrating only on the easiest large panels. Roofs, doors, floors, wheel arches and awkward areas can all contribute to heat loss and cold spots.
Metal ribs and structural sections can also create thermal bridges, where cold is transferred through the vehicle structure even when surrounding panels are insulated.
That doesn’t mean every cavity should simply be packed with insulation. Wiring, drainage, mechanisms and areas requiring future access still need to be considered.
For more detail, our campervan insulation guides cover how a complete insulation system should be planned and some of the most common mistakes to avoid.
Top Tip No. 2: Don’t Forget Airflow Behind Furniture & Mattresses
Not all condensation appears where you can immediately see it.
Mattresses pushed tightly against cold walls, packed cupboards and furniture installed with little airflow can create pockets where humid air becomes trapped.
Mattresses are particularly worth checking because people generate moisture while sleeping. If the underside of a mattress remains cool with very little airflow, moisture can gradually build up underneath it.
Allowing air to circulate around these areas can make a noticeable difference. Periodically lifting mattresses and checking enclosed storage areas is also a good habit, particularly during winter.
Reduce The Amount Of Moisture Inside
You won’t remove all moisture from a campervan, but avoiding unnecessary sources helps.
Where practical:
- Dry wet clothing and towels outside;
- Avoid leaving soaked equipment inside for long periods;
- Ventilate while cooking;
- Wipe away heavy window condensation rather than leaving water sitting overnight;
- Air the van after sleeping;
- Avoid storing damp bedding.
Thermal window screens can also help by reducing heat loss through the large areas of glazing, although ventilation is still important.
Do Moisture Absorbers Work In Campervans?
Moisture absorber tubs can be useful when a campervan is being stored or for dealing with small amounts of residual moisture.
They are much less useful as the main solution when people are actively using the van.
If two people are sleeping, cooking and living inside the vehicle, they can introduce moisture much faster than a small absorber can remove it.
A dehumidifier can remove considerably more water and may be useful when drying out a camper or when mains power is available. Again, though, it should not be used to disguise poor ventilation, a leak or a significant insulation problem.
Is It Condensation Or A Water Leak?
Not every damp patch inside a campervan is condensation.
Condensation tends to be associated with cold surfaces, overnight use, cooking and changes in temperature. Water ingress is often more localised.
Look more closely if you notice:
- The same area becoming wet after rain
- Persistent damp around a window, roof or seal
- Saturated lining or insulation
- Moisture appearing while the camper is unoccupied
- A damp area that remains despite improving ventilation
Simply insulating over an existing leak will not solve it. The source of the water needs to be identified first.
Need Help With Campervan Condensation?
If condensation is becoming a persistent problem, improving the way your campervan manages insulation, heating and ventilation can make a significant difference.
At Templer Way Campers, we can help with insulation upgrades, heating, ventilation and other improvements to existing campervans, as well as designing these systems properly as part of a new conversion.
Contact our team to discuss your campervan and the work that would make it more comfortable throughout the year.